Pick your case or mount
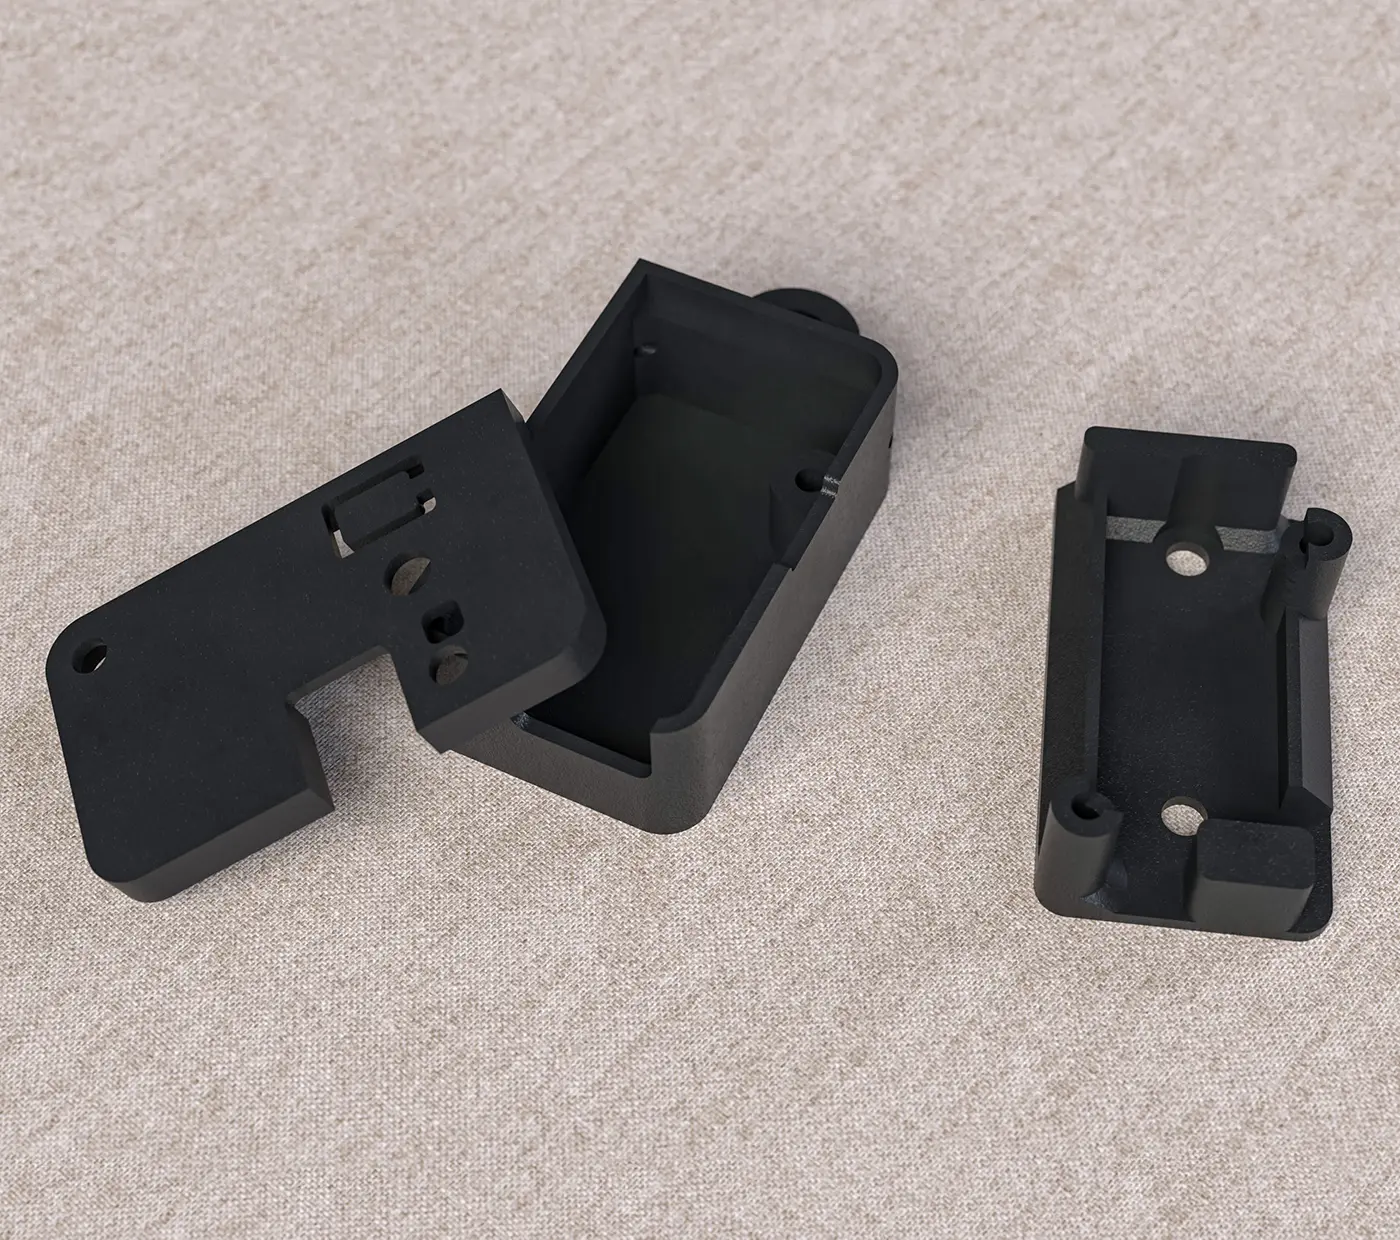
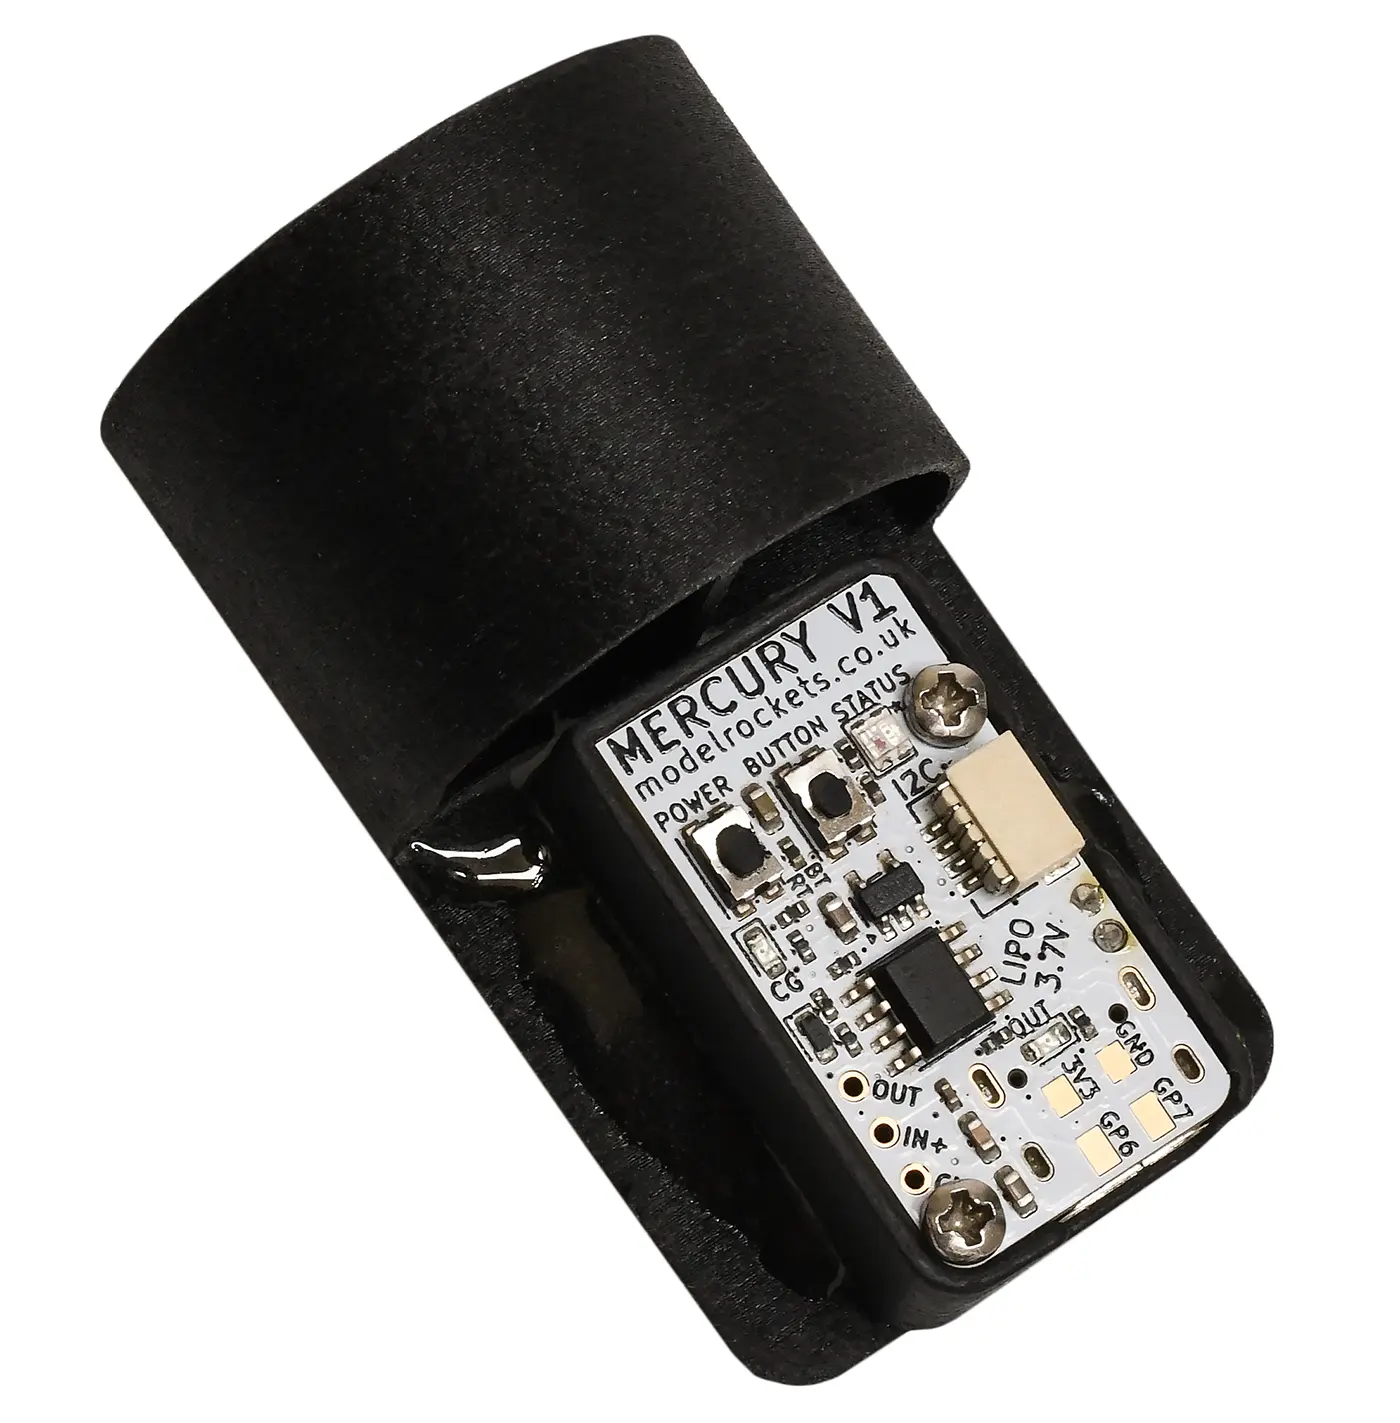
The Mercury comes installed in its default enclosure. This case offers good protection for the board and battery. It's made from SLS Nylon so it's fairly tough.
You can modify this default case by either gluing it into your rocket, drilling holes in it (remove the Mercury from the case before drilling!) or use the cord attachment that's part of the default case.
We have also included a second mount that has two holes in it already to bolt to an electronics bay or bulkhead that you can transfer your Mercury altimeter to if you want. You can purchase more cases if you need them on our website, or print your own. The electronics bay mount is narrower and you can also use long screws to bolt straight through it if it's easier to just have two screws holding the Mercury to the mount and the mount to the eBay.
The files are available here if you want to print your own.
Make sure it can breathe!
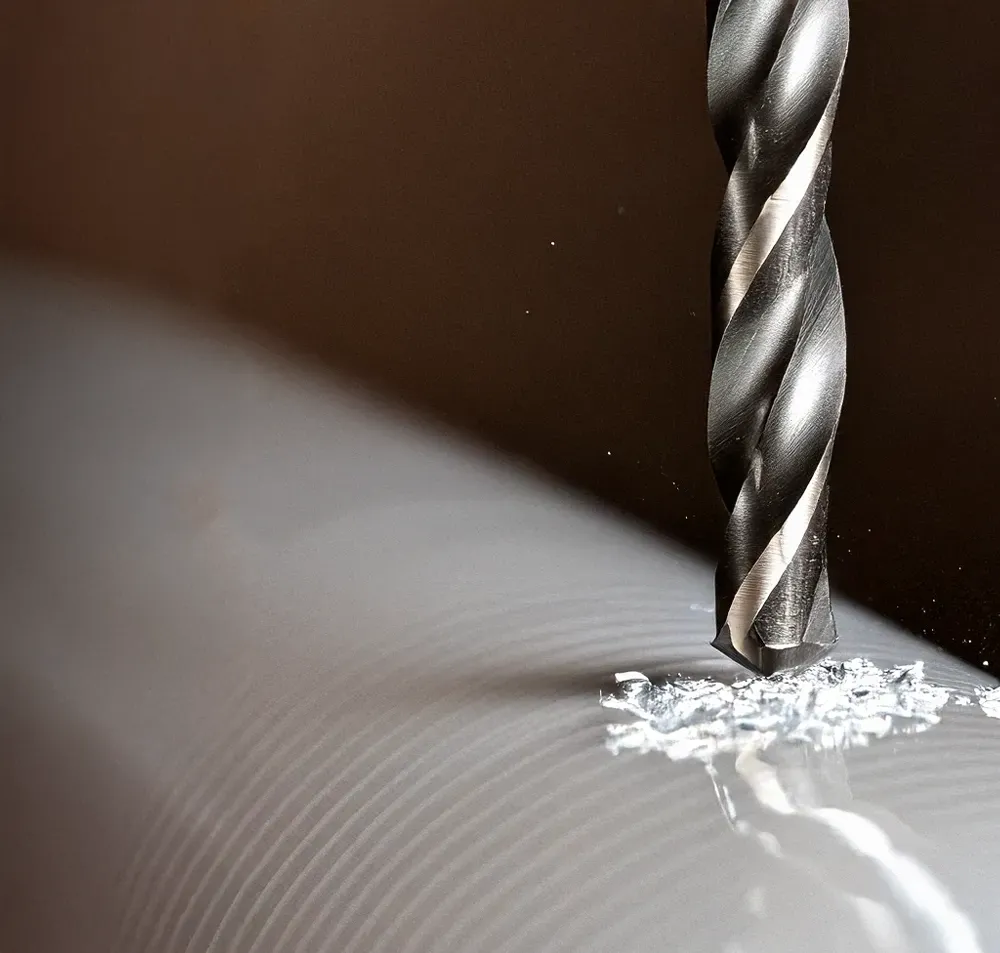
The most important factor is ensuring that the altimeter can sense air pressure changes outside the rocket. Essentially it needs to breathe, so you will need to create some small holes in your rocket to achieve this.
There is a tool on this page to help you with working out what size holes you will need.
Ideally, you want to use more than one or two holes. At least three holes evenly spaced around your rocket body tube is what you should aim for. You will also want to avoid the holes being too close to the nose cone, joints or transitions as well, as these can create turbulence in the air and affect your readings. A good rule is to place them at least three times your body tube diameter away from the nose cone base.
Drilling cardboard tubes can cause some fraying so you may want to consider reinforcing the hole with some CA glue afterwards and sanding the hole for a better finish.
Sand the surface of your rocket afterwards to ensure it is completely smooth.
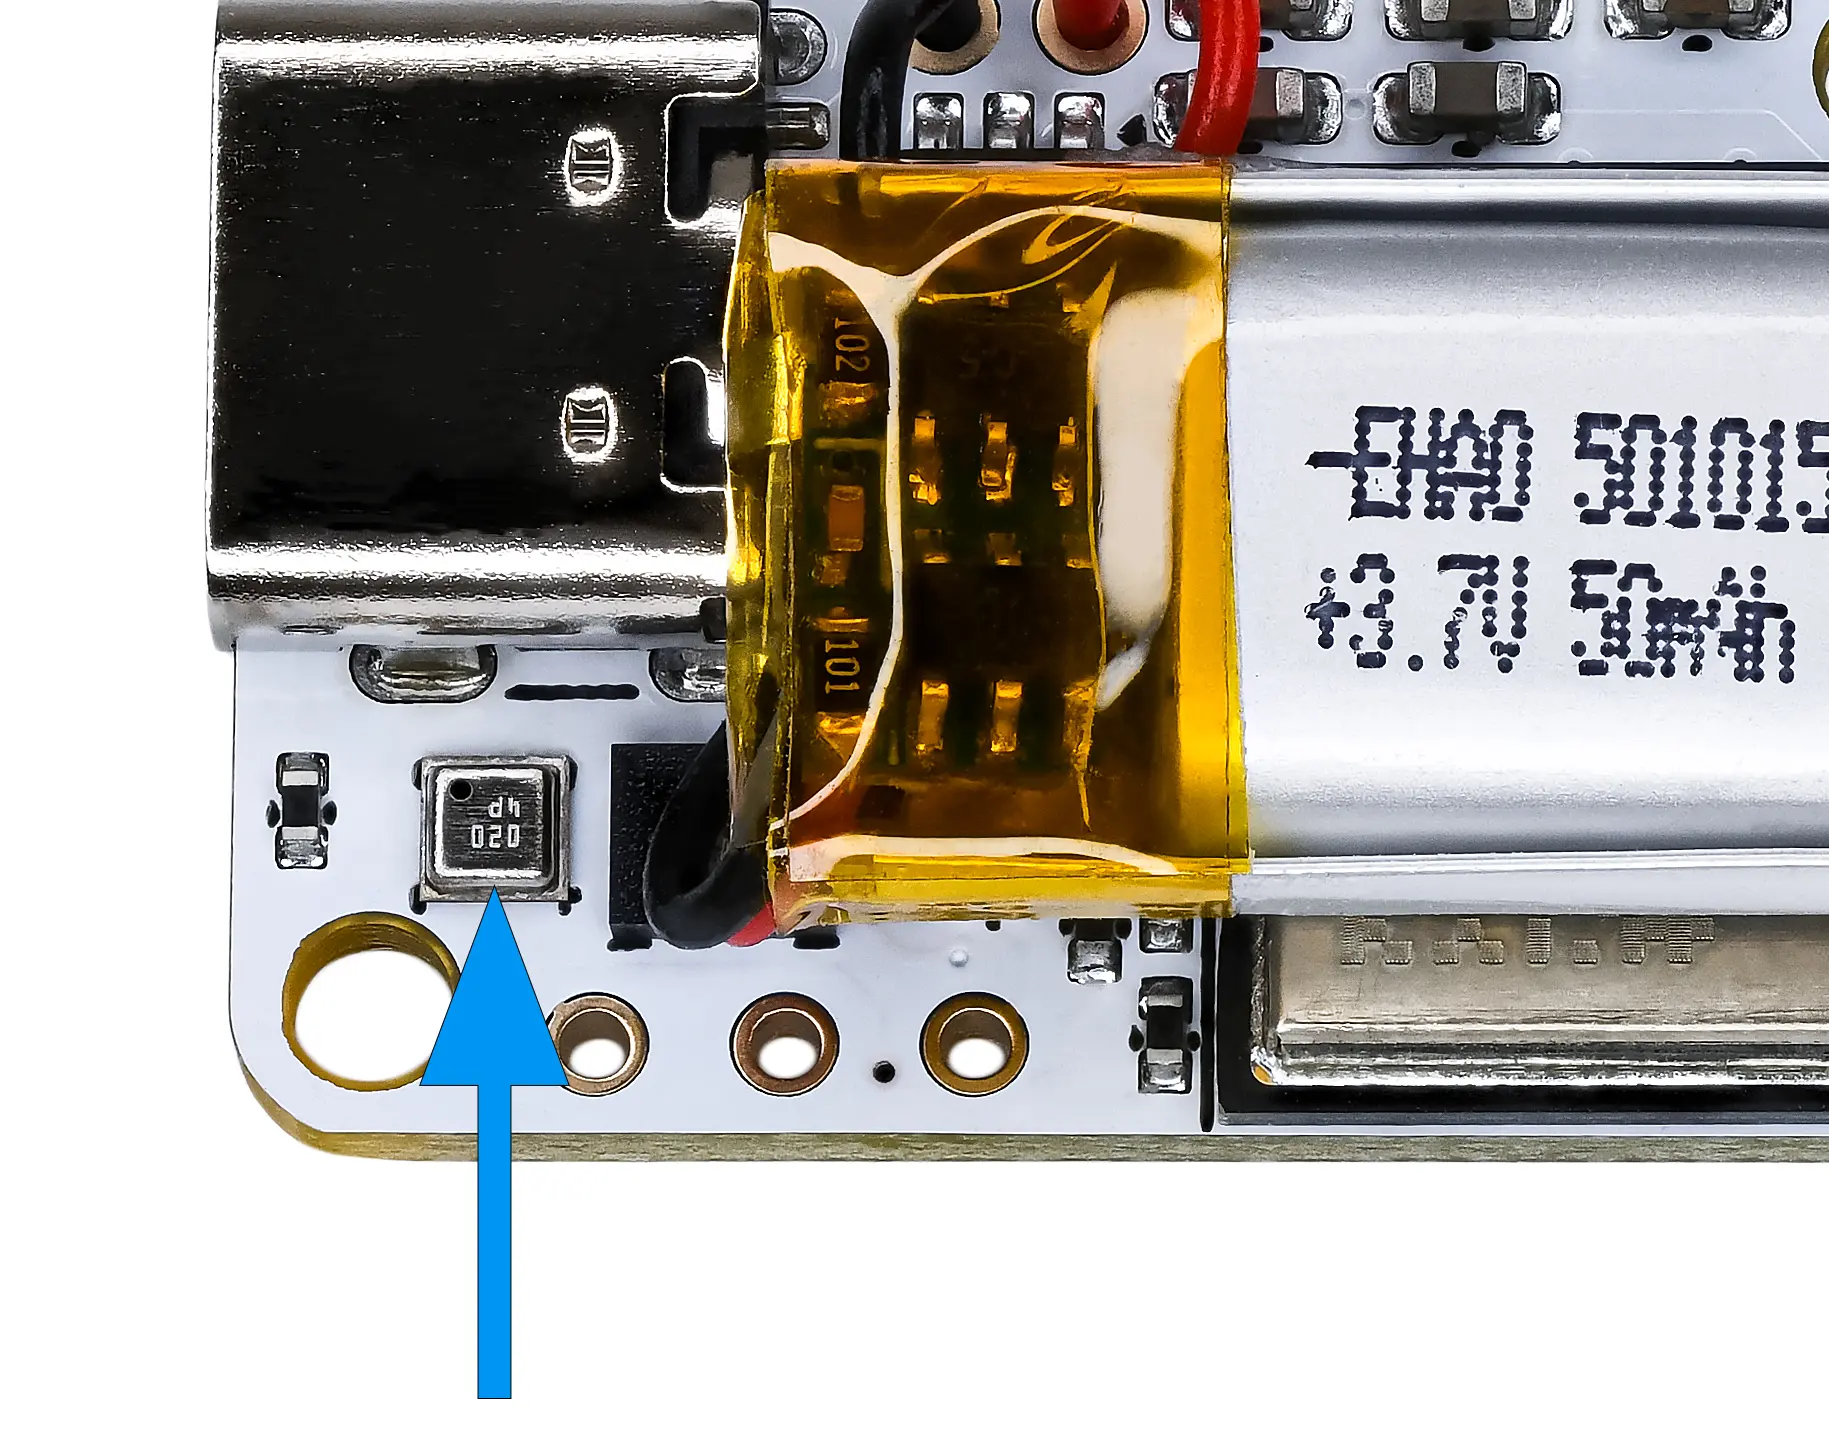
Pressure sensors are light sensitive
The default case does a great job of blocking light from flashing into the pressure sensor. This is something you may want to consider if you use the alternate mount or even your own method of mounting the board in your rocket.
If light can flash into the sensor it can create false pressure spikes which will be apparent in its output. Our 3-stage filters on the pressure readings will do a good job at removing them but it's still possible it could affect the charts a little bit.
Painting your payload section black internally and keeping the vent holes as small as possible are great ways to minimise the risk of stray photons entering the sensor.
Attach it to the shock cord
You can attach your Mercury to your shock cord. We suggest ensuring it's above the parachute when in your rocket if you use this method to give it the most protection from the engine's hot ejection gases.
This is a great easy method to get flying, it does have some disadvantages though.
- Not isolated from ejection charges. This can cause pressure spikes (seen as rapid altitude drops) in your chart although it doesn't hugely matter.
- Not in a fixed position. As it can move you can't rely on the output of the calculated angles to be accurate.
- It will be outside of the rocket after ejection moving about a lot which will affect its readings and puts it at more risk of damage.
Mount it in a payload section
This is the best method if you can do it with your rocket. Securely mounting the Mercury at a fixed orientation allows you to get the absolute best results. If it's mounted in its own payload section or electronics bay you can also isolate it from the motor ejection gases.
The image shows a Mercury default case glued with epoxy onto a 3D printed shuttle that slides into the payload section on this rocket.
Electronics bays are more often made from plywood or fibreglass, you can glue or bolt the Mercury case or mount straight on to these with no hassle at all.
Mount it in the nose cone
We suggest not using this method if you can avoid it. The nose cone creates a lot of turbulence, so vent holes on or near the nose cone could cause accuracy issues for your altimeter.
Of course you could still mount the Mercury in the nose cone and place your vent holes further down the body tube, so it's still an option.