You can upload or restore the firmware on your Mercury using our update tool. The Mercury is updated over a USB cable using the web-based update tool here on the Altimeter Cloud. You will need a PC or laptop running Google Chrome, Microsoft Edge or Opera for it to work.
The first step is to connect your Mercury to your PC or Laptop with a USB cable and click Connect Device.
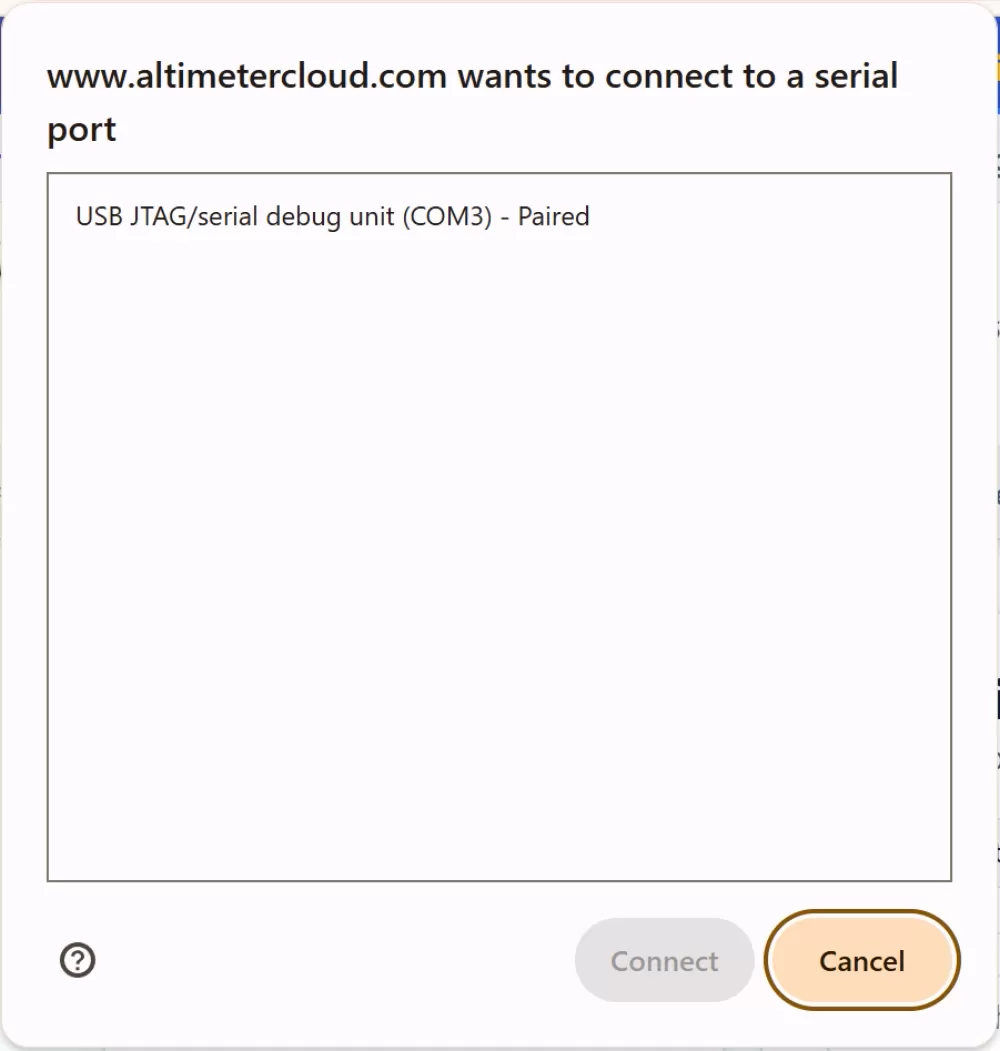
A connection box will then pop up like this one. The Mercury should identify itself as USB JTAG/serial if you have multiple devices in the list.
If you can not connect please ensure you put the Mercury in bootloader mode.
To do this hold down the BUTTON while pressing and releasing the POWER button. You should hold down the BUTTON while doing this.
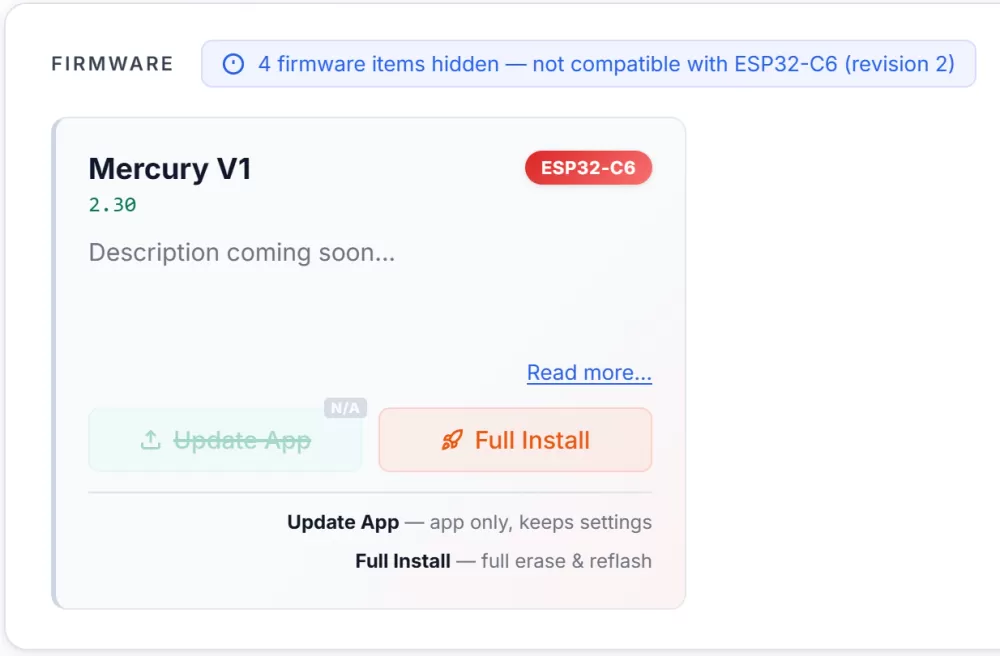
You will now be shown firmware that matches your device's processor unit, which should usually only show you the right firmware.
You can now click the button to install the new firmware.
Update vs Full install
Update only replaces the program on the altimeter and leaves the settings and flight data partition alone. This is the best option for most updates as your WiFi settings will continue to work afterwards. If it's not available it means we had to change the partition structure and a full installation is required for the new firmware. If the Update method fails it could be because you are updating from a fairly old firmware so a Full install is required.
Full replaces your entire flash memory space. Use this if you've changed the partition layout, erased your device (for example after using it as a dev board), or just want a fresh factory install. The install button turns orange when Full is selected as confirmation.
