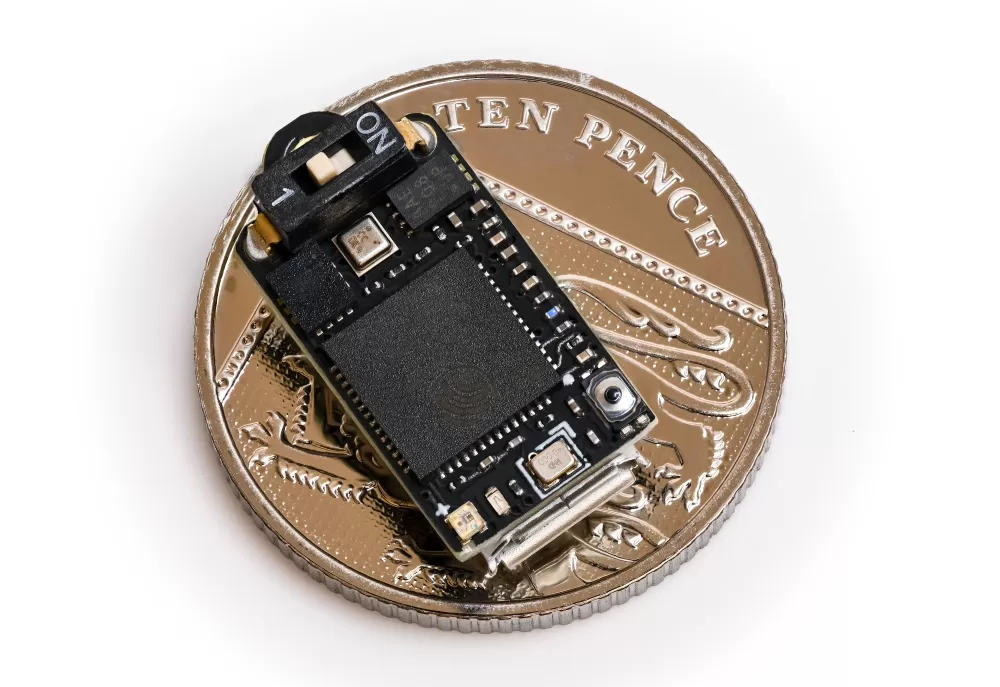
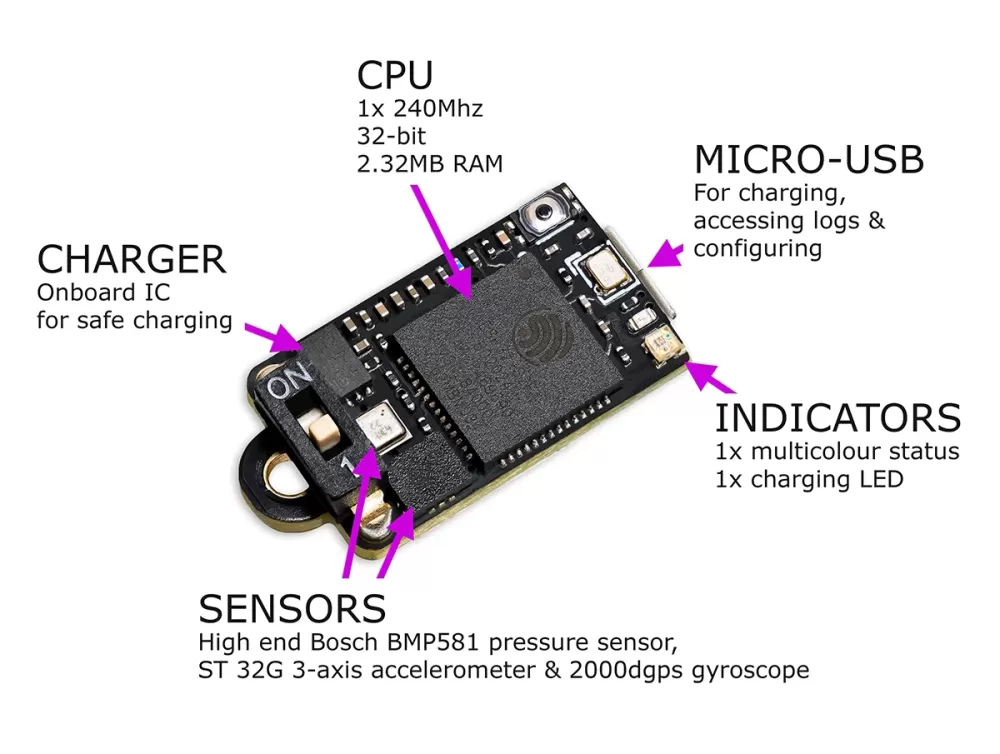
The Nano is small and light enough to go in just about any rocket. Where you put it, and how the air reaches it, makes a real difference to the quality of your data.
The bay cover
The Nano comes with a bay cover, printed in tough SLS nylon. It fits over the Nano and is open underneath, with two screw holes at each end, so you can screw it straight onto the sled in an electronics bay with the Nano held between the two.
For the best protection, install the Nano in a payload section or electronics bay under this cover, or a mount of your own making. Whatever you use, the main aim is to protect the battery from being punctured. If you'd like to print your own cover, the file is available here.
Vent holes: let it breathe
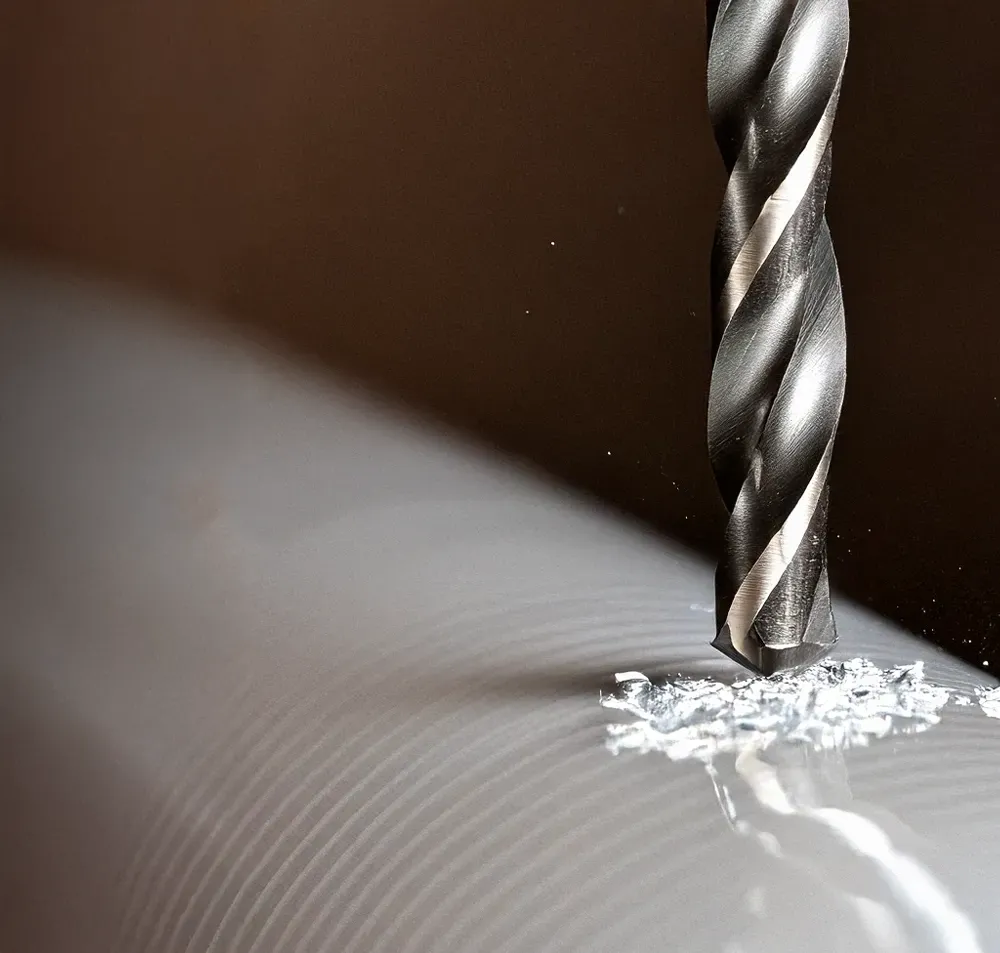
The Nano measures altitude from the air pressure outside the rocket, so the section it sits in needs a few small vent holes.
- Use at least three holes, evenly spaced around the body tube.
- Keep them at least three body tube diameters below the base of the nose cone, and away from joints and transitions, where the air is turbulent.
- On cardboard tubes, a drop of CA glue around each hole stops it fraying. Sand the outside smooth afterwards.
The vent hole calculator works out the right size for your rocket.
Keep light off the sensor
Pressure sensors are sensitive to light. A flash of light reaching the sensor can cause false pressure spikes in the log. TruePath removes most of them, but they can still affect the charts a little.
Mounting the Nano under its cover, painting the inside of the payload section black, and keeping the vent holes as small as the calculator allows all help.
Where to mount it
An electronics bay gives the best results. The shock cord is the quickest way to get flying, and the nose cone works if it suits your build.
In an electronics bay Recommended
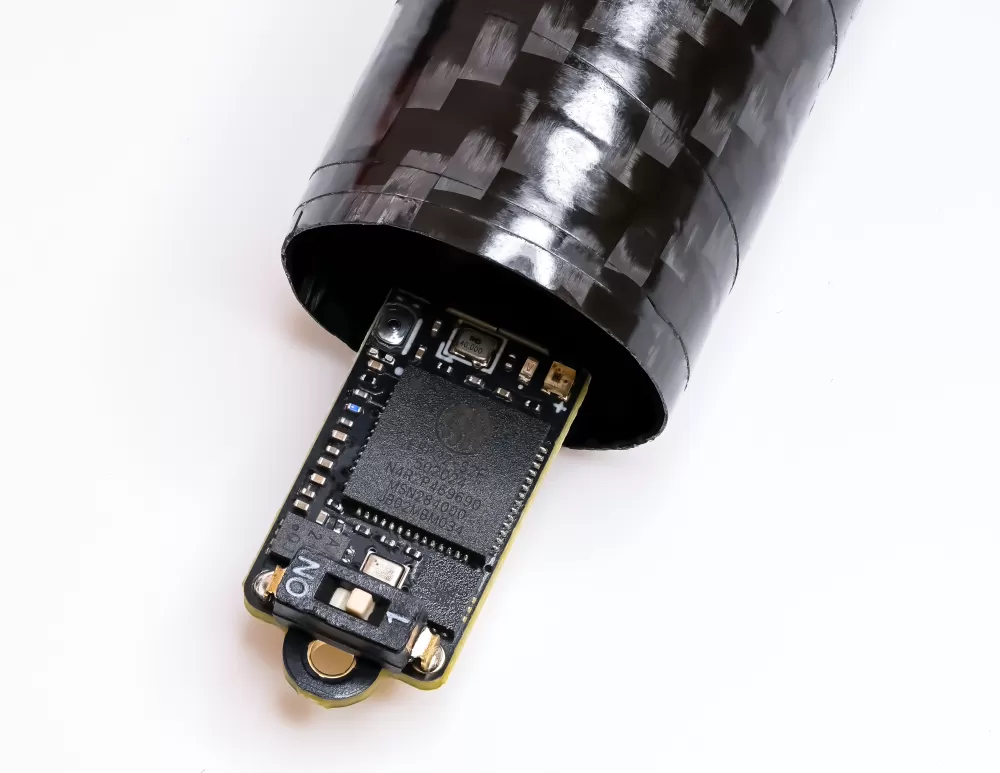
This gives the best results. Held securely in a fixed position, the Nano's tilt and angle figures are reliable, and in its own bay it is kept away from the motor's ejection gases.
Screw the cover to the sled with the Nano underneath it. You can also glue or bolt it to a bulkhead or the bay wall; plywood and fibreglass bays take glue or bolts with no trouble at all.
On the shock cord
A quick and easy way to get flying: the Nano adds next to nothing to the cord. Fix it above the parachute when packed, to keep it as far as possible from the hot ejection gases. There are some downsides:
- It isn't shielded from the ejection charge, which can show as short pressure spikes in the chart.
- It isn't held in a fixed position, so the tilt and angle figures won't be reliable.
- After ejection it hangs outside the rocket and moves about a lot, which affects the readings and puts it at more risk of damage.
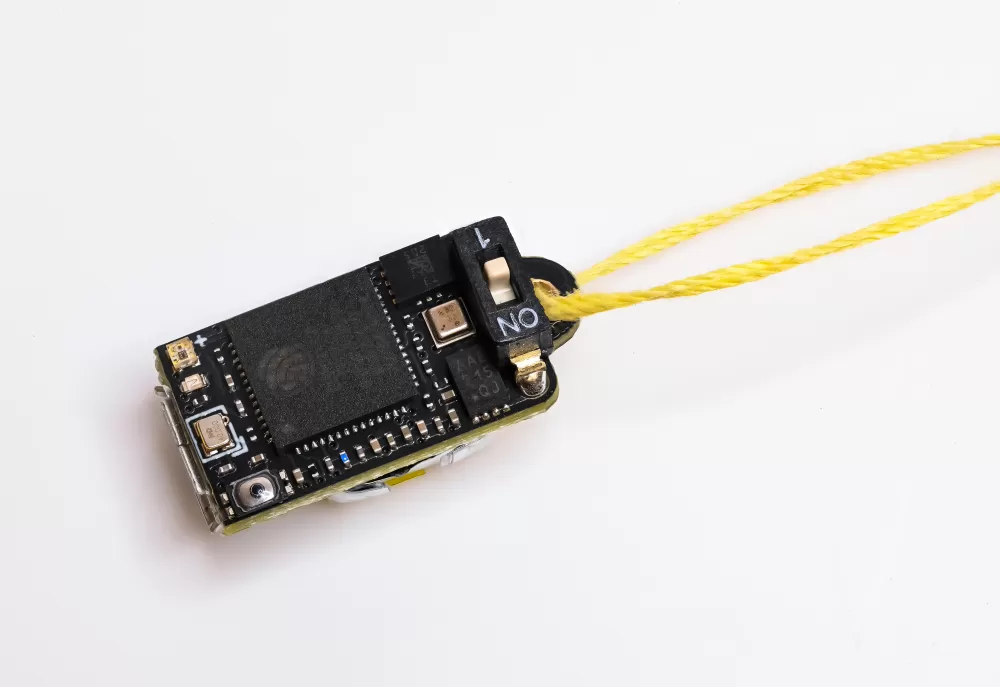
In the nose cone
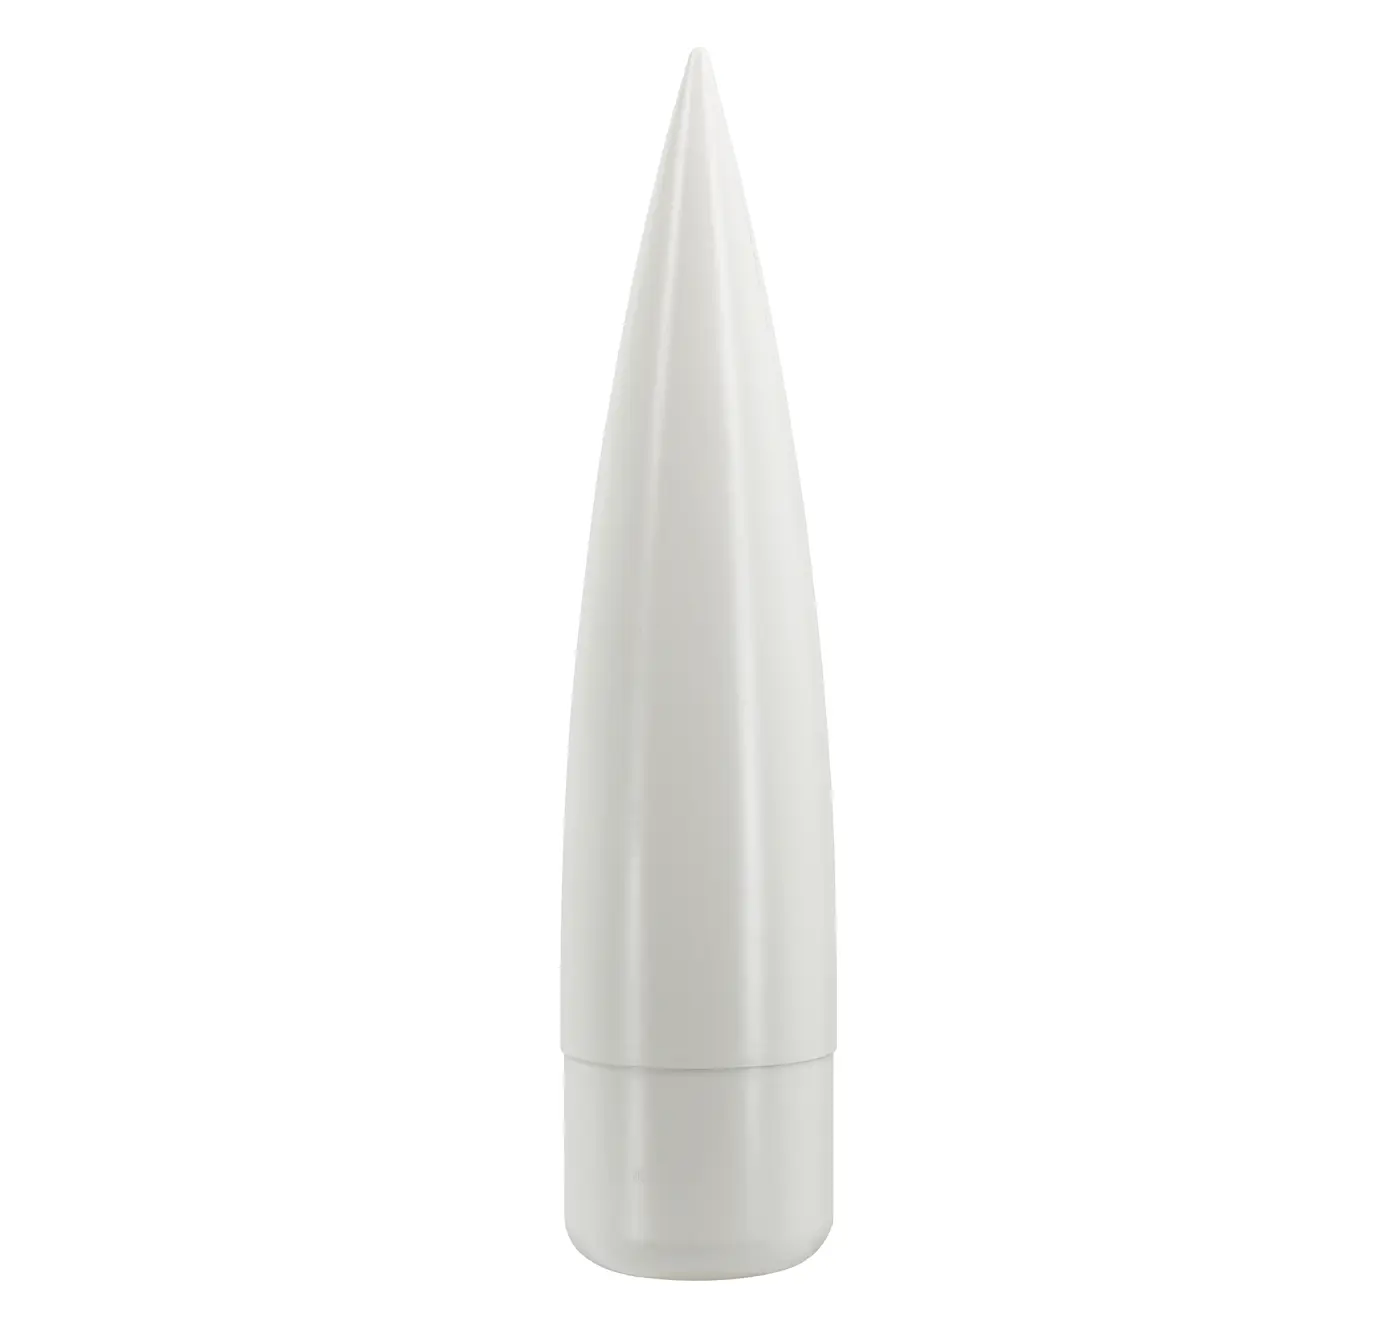
We suggest avoiding this if you can. The air around the nose cone is turbulent, so vent holes on or near it can affect the accuracy. If it suits your build, you can still mount the Nano in the nose cone and put the vent holes further down the body tube.
Orientation
With orientation at 9, the default, the Nano works out how it is mounted from gravity while it sits on the pad and locks that in at launch, so there is nothing to set. It picks whichever of the six positions is nearest, snapping to the closest 90 degree alignment, so mount the board square to the rocket's axis for the most accurate angles. If you prefer to set it yourself, the six positions are on the settings page.