Flight mode is how the Nano spends its time at the launch site: sitting on the pad, watching for a launch, recording the flight, and saving the log afterwards. You do not select it from a menu, the Nano simply enters flight mode whenever it powers on without USB.
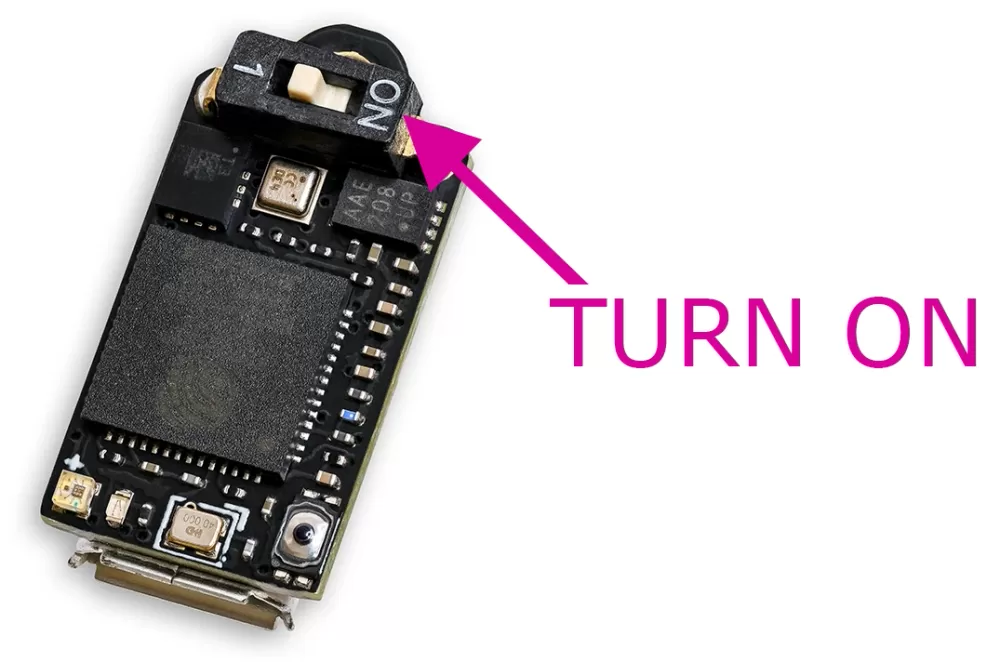
The rule is simple. Power the Nano on with a USB cable connected and it comes up as a USB drive so you can read your logs and edit settings. Power it on without USB, on its own battery, and it goes straight into flight mode. So at the field you just switch it on, away from a cable, and it is ready to fly.
As the Nano boots it runs through a series of internal checks, and you may see the status light flicker through a few different colours for a second or two, including a brief red. That is normal: those colours are mainly there to help us with diagnostics, and they pass quickly as the Nano moves on to its steady yellow warm-up.
The one thing to watch for is a red light that stays on and never moves on to the yellow warm-up. The Nano holds on a steady red and stops if one of its start-up checks fails, for example if it cannot set up its recording memory or reach one of its sensors. If that happens, switch it off and on again, as a one-off glitch will usually clear on a restart. If a problem ever persists across several boots the Nano will automatically reformat its storage to try to recover, and if it keeps stopping on red, please get in touch with support.
When it first powers on, the Nano spends about 15 seconds settling its sensors, shown by a yellow light that pulses roughly every two seconds. Once it is ready it switches to green, slows the pulse to once every four seconds, and arms itself, watching for a launch. From that point you can leave it as long as you need to: from a full charge the Nano will happily sit armed on the pad for over four hours, with the power saving energy mode (emode 2) stretching it the furthest, so there is no rush between setting up and launching.
If the battery is low when you switch on, the Nano warns you with a short burst of red and orange flashes before it carries on, so you have a chance to charge it before committing to a flight.
There is a section below "Reading the status light" which details how you can gain information from the status light flashes.
The Nano watches its barometric altitude. When it has climbed clear of the pad by the launch detect distance (30 metres by default, which you can change in the settings), it knows it has left the ground and starts recording in earnest. It also keeps a rolling few seconds of data in a pre-buffer at all times, so the moment of launch and the climb off the pad are saved too, not just what happens after the threshold is crossed.
It is worth setting the launch detect distance to suit your flight. As a rough guide we suggest about a quarter of your expected apogee, so a 200 metre flight would use around 50 metres. We would not go below 25 metres, so that ordinary handling on the pad and changing weather cannot trip it, nor above 100 metres, so it still catches a lower flight in good time. You will find the setting, and its full range, on the settings page.
On Rev4 and later boards there is a second check. As well as seeing the altitude rise, the Nano looks for the hard acceleration of a real launch (the launch protection setting, 1.5 G by default) before it commits to recording. This stops a gust of wind or a knock on the pad from triggering a false launch. If you would rather rely on altitude alone you can turn launch protection off in the settings. There is also a startup lock setting that holds off arming for a chosen number of seconds after power on, handy while you are still handling the rocket.
In flight mode the light pulses in a colour that tells you what the Nano is doing. It pulses about every two seconds while warming up, then settles to once every four seconds once it is armed and recording:
| Light | Meaning |
|---|---|
| Yellow | Warming up and settling its sensors, just after power on |
| Green | Armed and ready, waiting for a launch |
| Purple | Recording a flight, and saving the log afterwards |
The number of flashes tells you whether there are flights stored on the device. One flash means there are no flight logs saved yet. Three flashes means there are logs on the drive. That makes it easy to confirm after a flight that something was saved: power the Nano back up and look for the three flashes. It is just as useful the other way round for competitions, where a single flash confirms the device is blank with no previous flights stored, handy if you need to show a scrutineer that the altimeter is starting empty.
There is also an optional battery flash. While the pack is healthy you will just see the status colour, but once the battery drops to around half or below, a second coloured flash appears straight after the one or three status flashes to show roughly how much charge is left. These figures are rough estimates read from the battery voltage:
Blue, around 50% left Orange, around 30% left Red, under about 20%, charge before flying
When the Nano detects that the flight is over it writes the log to its drive, ready to read or upload the next time you connect it over USB. If the maintain power setting is on, it will then blink out the apogee altitude in colour so you can read the peak height straight off the pad before you even pick it up (the colour code it uses is covered on the settings page). For everything that happens once the rocket is back in your hands, from recovering the device to reading and verifying your flight, see the after landing page.